Sapphire Web Pack Market Goods Receive is a very unique screen with functionality that’s been specifically designed for industries that work within a market. It has the ability to arrive goods into the Market Pack where, at that current point in time. There is also no set determined price that you’ll pay the grower.
For example, if you are a company that has a market stand, in some countries the sale of fruit and veggies is strictly controlled by a licensing scheme, where all fruit and veggies, in a particular capital city or regional area, must be sold through a central market. Sapphire Web Market Pack has been designed specifically for the companies that work within the markets, and they will have relationships with their growers and then they have relationships also with their clients being retail organisations that buy fruit and veggies or large scale organisation that require bulk quantities such as restaurants, hotels, hospitals, military, etc.
Orders from Growers may be entered into the SapphireOne system using either Client Server mode or the Web Pack.

Goods Receive
Goods Receive is when you are going to receipt what has come in to the Market stand from a grower or producer.
At the end of Goods Receive the user can select the option to add labels. They are able to select the labels they want to print for that batch, as well as each line within a particular product line, with that unique batch number for transparency and traceability. For example, how the goods were received, if it arrived in a plain pallet, CHEP pallet, crates, etc. as well as how many palettes and/or crates were received. When printing labels for each line we also provide the capability of nominating how many labels you want to print for that particular product line. Once the label has been created, in two weeks time, when you are ready to pay the grower for the goods received, you are able to check the unique batch number for that specific line and review how it performed in sales.
Choose a Client – Once you have made a selection of the sales type, SapphireOne will display a list of Clients to Choose from. A wild card search is allowed using the @ symbol to replace characters in the Client ID.
Find – Enter the ID or Barcode and select the Find button to find the relevant grower.
Dictation and Speech to Text Overview
SapphireOne’s implementation of both Dictation (MacOS) and Speech to Text (Windows) is a game changer for data entry. Any data entry field you can type into using a keyboard can use this feature.
You can also use this functionality on all inquiry screens within SapphireOne. For example, the user is in a Contact within a Client. They may have made a phone call to that particular client using the Softphone technology. Consequently, this will automatically date and time stamp both the contact and the phone number you called.
As soon as the call is completed, the user has the ability to use Speech to Text (Windows) or Dictation (MacOS). They can dictate into the memo field of the CRM contact, adding as much description as they require.
Dictation and Speech to Text Procedure
This functionality applies across every single Data Entry screen. For example, the SapphireOne user is entering a Vendor Invoice (VI). Additionally, you may want to add a memo within the Vendor Invoice (VI). The user can utilise the tool and simply dictate the memo.
Another example is if the user wants to add additional lines to the General Ledger account, within each General Ledger account. When the user is completing data entry using a General Ledger, there’s always a unique memo field for each GL account line.
The user can then utilise this feature to quickly add the information they need to add. Alternatively, you may have an interview with an employee. After the interview process is completed, the user can then make notes about the employee.
Speech to Text or Dictation is an extremely powerful tool. It is something that we at SapphireOne, as well as our clients, utilise daily. It is a massive time saver.
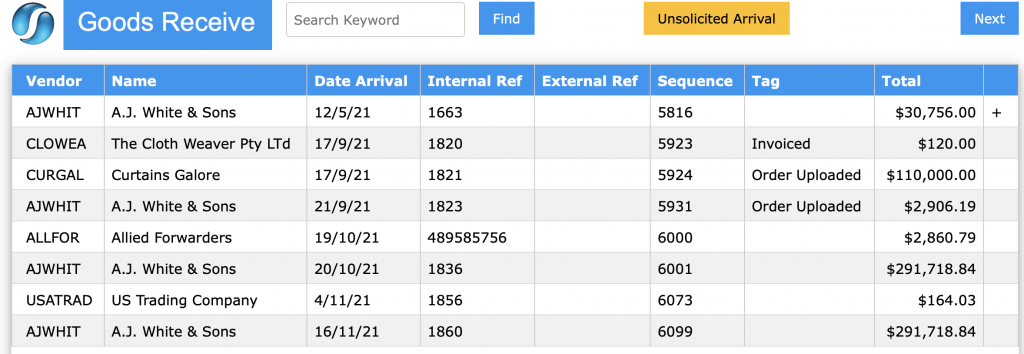
Unsolicited Arrival – When the ![]() icon is selected, the user will be taken to the Arrival screen, where you can select the grower, the quantity received and location. The user then selects Process and this will generate an Unsolicited Arrival transaction for the grower.
icon is selected, the user will be taken to the Arrival screen, where you can select the grower, the quantity received and location. The user then selects Process and this will generate an Unsolicited Arrival transaction for the grower.
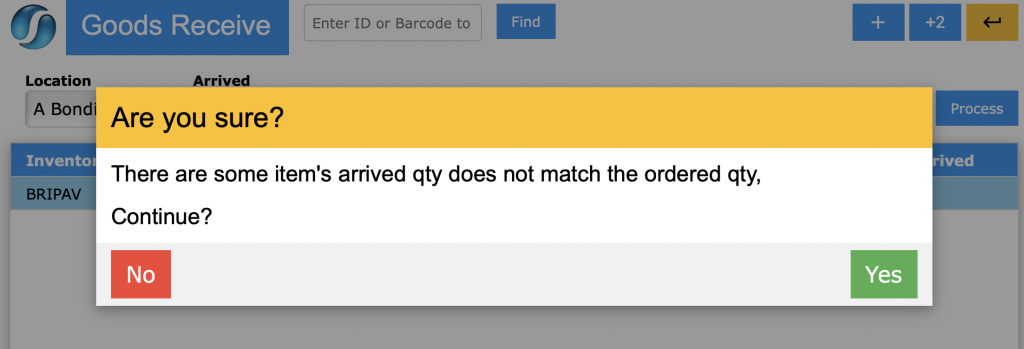
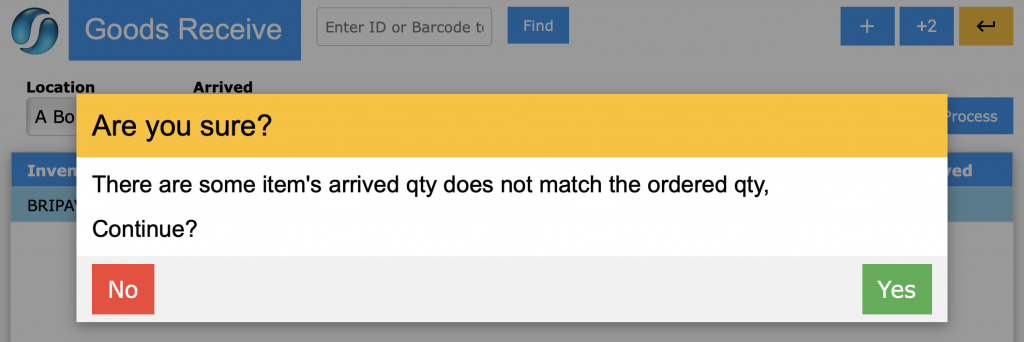
When the grower sends more or less than what was ordered, the user is prompted with the screen shot below, asking if the user wish to continue with the differing quantities.
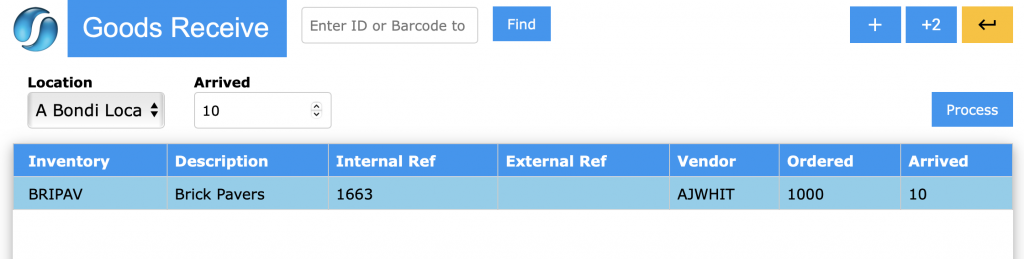
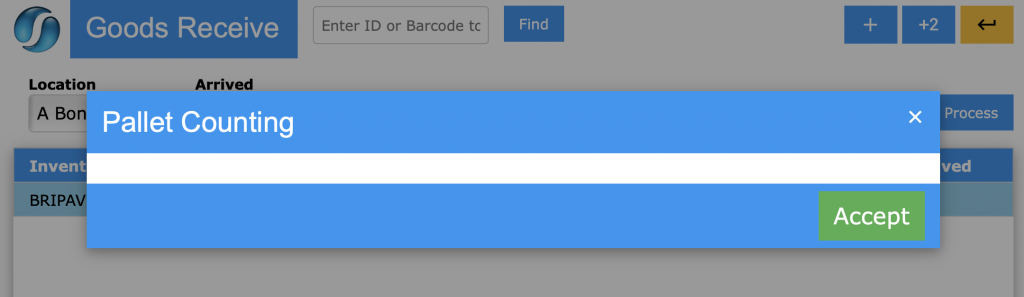
As part of Goods Receive, the user is able to track the number of pallets that have been received from the grower Pallet Counting by hitting Accept.
Arriving these goods, the user will be presented with the screen shot below.
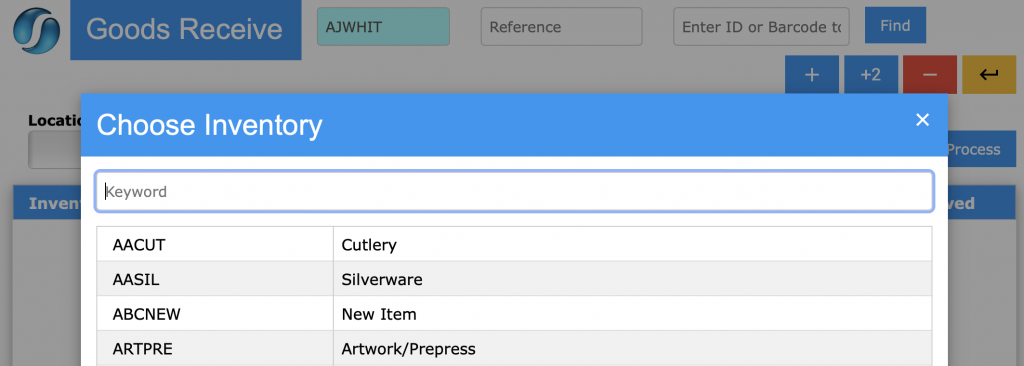
Append Item – By clicking on the Append Item ![]() button the user is able to choose inventory items for Goods Receive.
button the user is able to choose inventory items for Goods Receive.
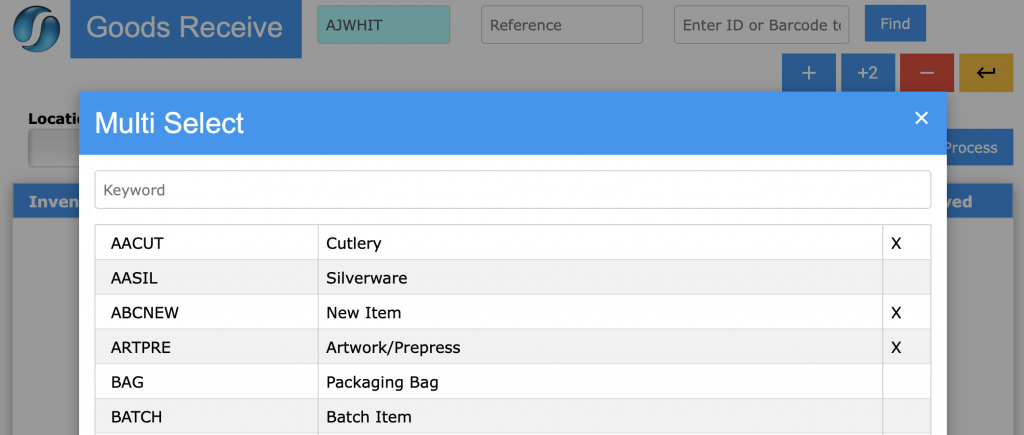
Append Multiple Item – By clicking on the Append Multiple Items ![]() button the user is presented with the Multi Select screen and is able to choose multiple inventory items and add them into Goods Receive at the same time. Click on the required items with the mouse and an x will mark the items that will be appended to the transaction.
button the user is presented with the Multi Select screen and is able to choose multiple inventory items and add them into Goods Receive at the same time. Click on the required items with the mouse and an x will mark the items that will be appended to the transaction.
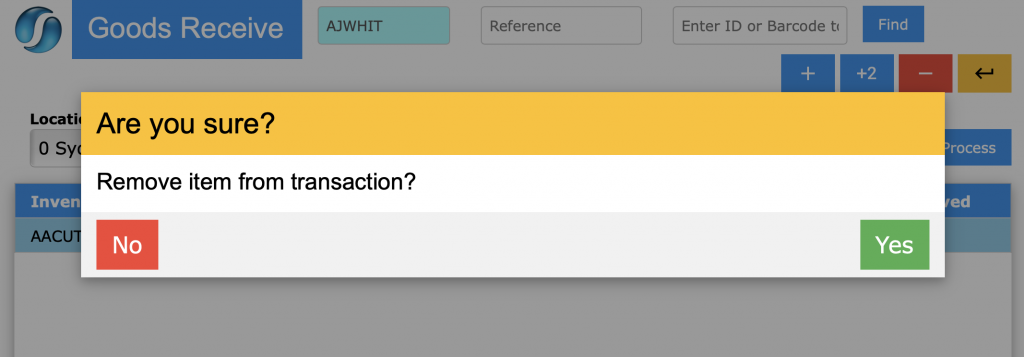
Remove Item – By clicking on the Remove Item ![]() button, the user is able to remove the currently selected inventory item from the list.
button, the user is able to remove the currently selected inventory item from the list.
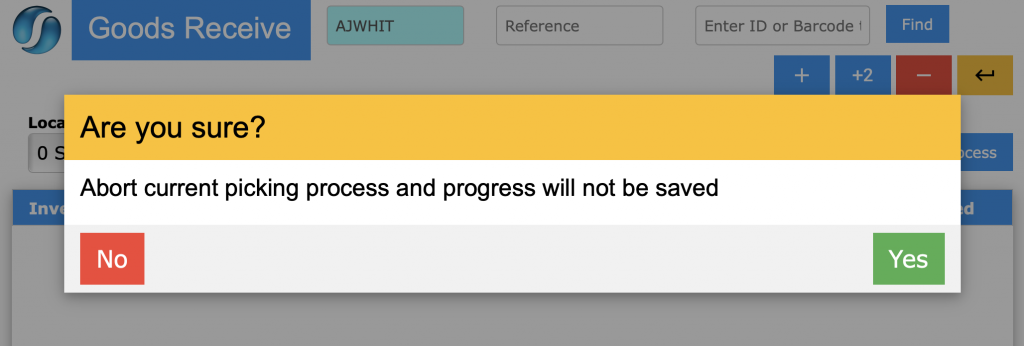
Back – When the user selects the browser Back ![]() button, or attempts to leave the current screen, the user will be presented with the screen below. It will ask if they wish to abort the current picking process and they are also notified that the progress will not be saved. The current order will then be aborted without saving.
button, or attempts to leave the current screen, the user will be presented with the screen below. It will ask if they wish to abort the current picking process and they are also notified that the progress will not be saved. The current order will then be aborted without saving.
Location – This drop down menu will provide the user with a list of stands, venues, vendors, etc. that they wish to add to the order.
Arrived – In the Arrived field, the user can add in the quantity arrived and view it alongside the original ordered amount.
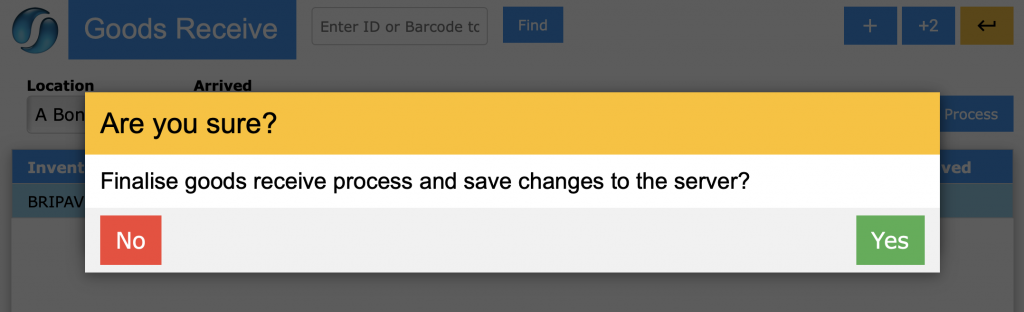
Process – By selecting the Process ![]() button, the order will arrive into the SapphireOne Client and convert to a Purchase Vendor Invoice (PVI) unposted.
button, the order will arrive into the SapphireOne Client and convert to a Purchase Vendor Invoice (PVI) unposted.

You can review our Blog and YouTube channel for additional information and resources on SapphireOne ERP, CRM and Business Accounting software.