One of the Checking main features is the ability to generate a checklist of inventory items for a rapid review prior to packaging.
This innovative instrument is crafted to enhance and simplify the procedures associated with managing inventory. It empowers organisations to generate exhaustive checklists for their stock, guaranteeing comprehensive oversight and preventing any omissions during the packing phase.
With a detailed checklist available, inventory team members can swiftly confirm the presence of all required and essential items before packaging, thereby avoiding multiple trips back to the inventory locations and warehouses. This efficiency not only conserves time but also minimises the likelihood of errors and mistakes and confirms the inclusion of all inventory components.
Additionally, this will boast compatibility with your SapphireOne Inventory Mode, enabling a smooth exchange of data between the checklists and SapphireOne’s inventory master records, which further boosts productivity and precision.
To utilise the Sapphire Custom Web Pack Checking, follow these steps:
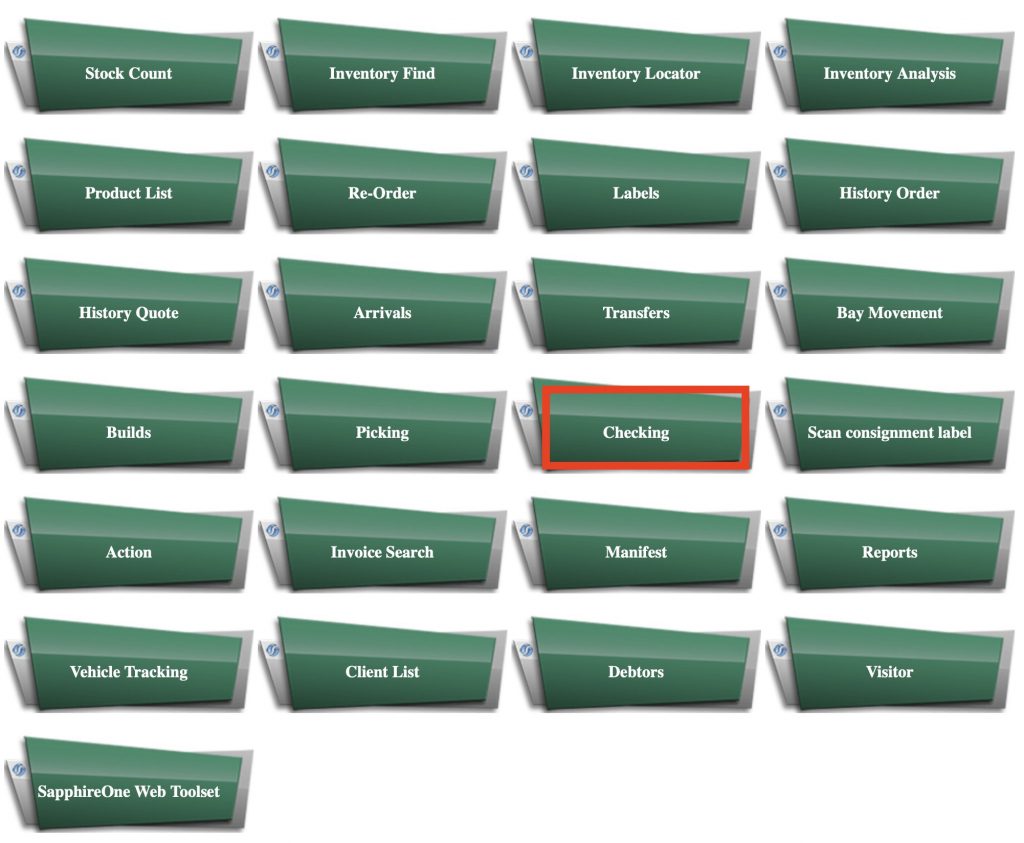
- Navigate into “Checking”.
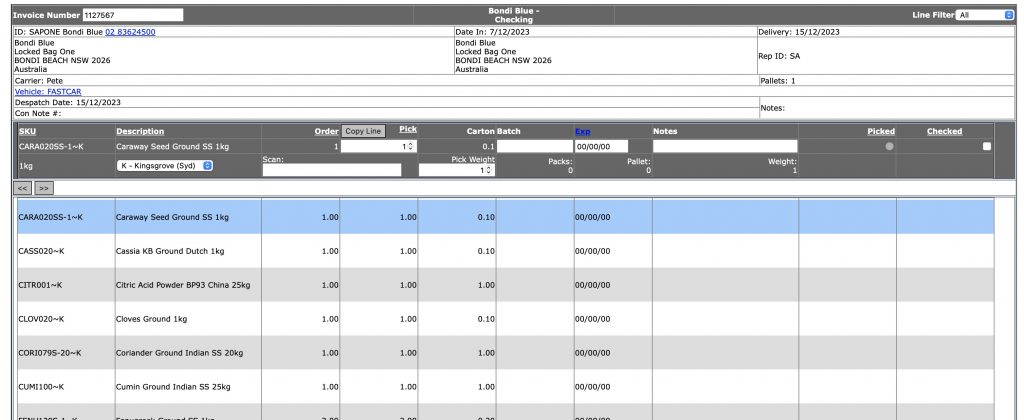
- The page will appear with the following details:
- Invoice Number – Sequence/Identification of invoice.
- SKU – Stock Keeping Unit.
- Description – Inventory description.
- Order – Order an inventory item.
- Copy Line – Copy line into a new line.
- Pick – Pick an inventory item.
- Carton – Units per item.
- Batch – Number of batches.
- Exp – Date of expiration.
- Notes – Additional Remarks / notes.
- Picked – Tick if inventory item is picked.
- Checked – Tick if inventory item is checked.
- Scan – Barcode area for digital scanning.
- Pick Weight – Total pick weight.
- Packs – Amount of packs.
- Pallet – Number of pallets.
- Weight – Total weight.
- >> – Next Line.
- << – Previous Line.
- Special Instructions – Additional instructions for checking.
- Text Details – Additional details.
- Accept – Accept and proceed the checking process.
- Cancel – Abort and clear form – clicking this will also navigate back to Navigation Page.

- After inserting invoice number you wish to check for – the following page will appear with detailed list of inventory items for checking.
- Click on the inventory item you wish to check and finally – select “Checked” checkbox in order to mark inventory item as checked.
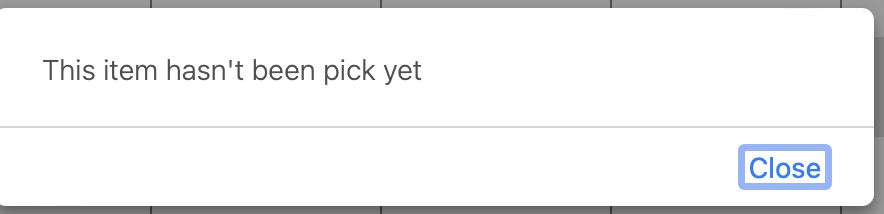
- Note: In case item wasn’t “Picked” – you will receive a notification item has not been picked yet.
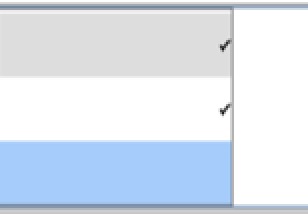
- In case checking was successful, you will see the “Check” in the inventory item line as attached here.
- When required inventory items have been checked – you may select “Accept” to complete the checking of the transaction.
You can review our Blog and YouTube channel for additional information and resources on SapphireOne ERP, CRM and Business Accounting software.