The Sapphire Web Pack Market Packing functionality allows the user to enter in inventory items, goods, stock, etc. that the client has ordered. Once entered, it can be turned into a Packing slip and the user has the ability to either print a hard copy or pack from an iPhone, iPad or device that runs HTML5 or greater.
The Packing slip includes details of the employee in charge of packing the order, what labels are on it, the details of the stock, the grower, the unique batch number and what the selected inventory items, goods or stock is, etc. From the Packing slip, your employees are able to then pack up the correct stock in accordance with the order and fulfil the order to that unique batch number. The Packing works on both Vendor and Client mode when packing arrives and is delivered.
The Packing functionality also allows the user to pack electronically. An employee can enter the warehouse/market with an iPhone, iPad or device that runs HTML5 or greater, and they can enter the Packing order electronically with a Bluetooth scanner by scanning the barcodes on each box, crate, etc. in accordance with Packing list. The electronic scanning of barcodes is a unique functionality within the Sapphire Web Market Pack. Rather than manually entering the details of each order, this eliminates errors of packing orders, for example, incorrect quantity amounts, incorrect stock being sent out, etc.
This is a game changer for the workflow of businesses and organisations as it is able to add date and time stamps in real time, specify who was working that shift and packing the stock from the unique login and password for each employee, the items scanned, the quantities entered, etc. The electronic Packing method allows for more transparency for the user rather than entering it manually on paper. It eliminates follow up and gives the provider complete visibility of the packing process from beginning to end.
Packing Navigation Overview
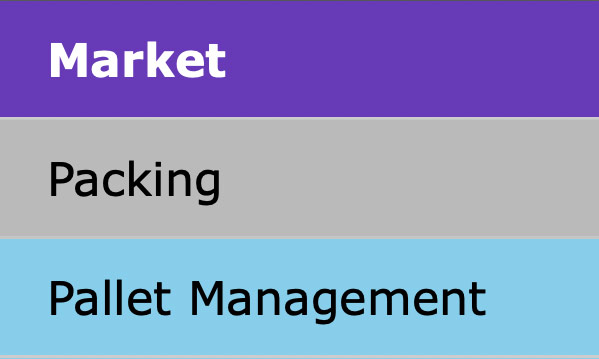
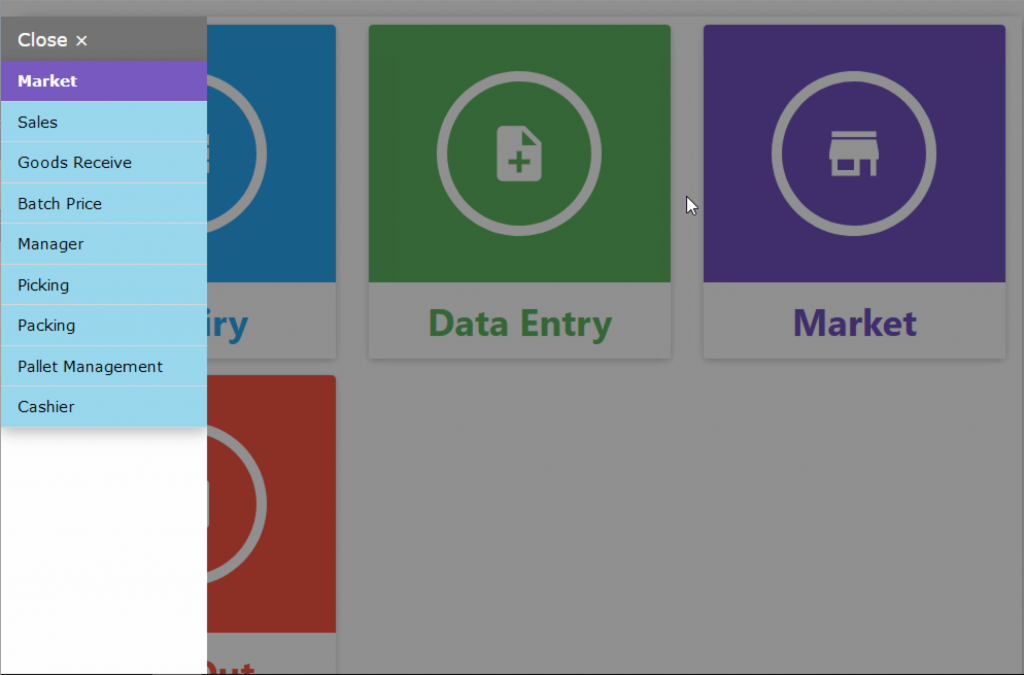
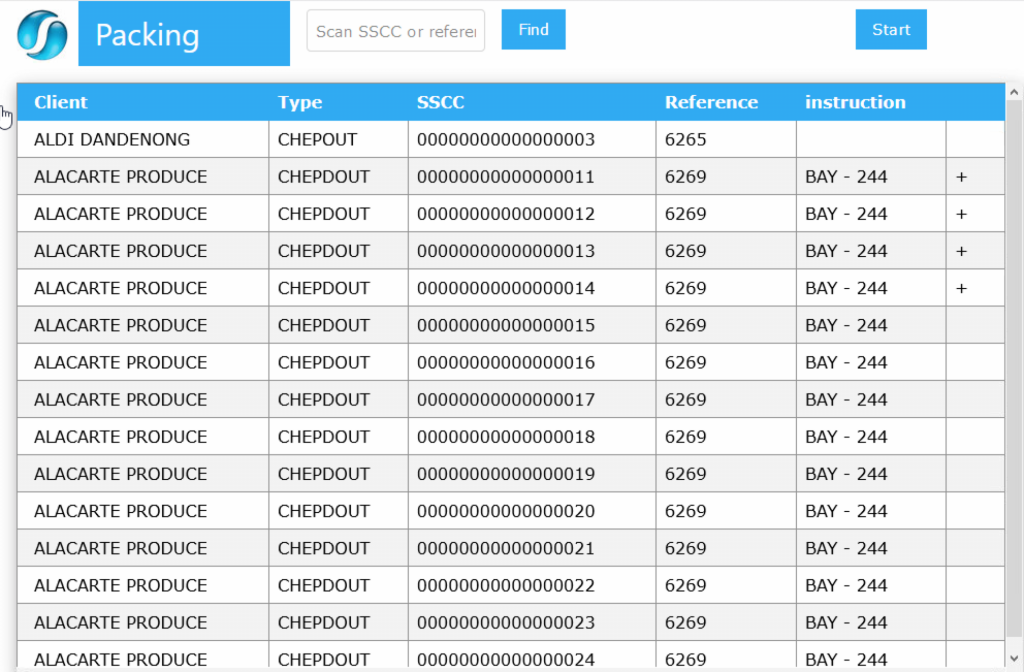
Once orders have been picked, forklift drivers can then pick-up and deliver them to the required location/bay. To get a list of pallets waiting to be delivered the user need to select the Packing option from the Market list.
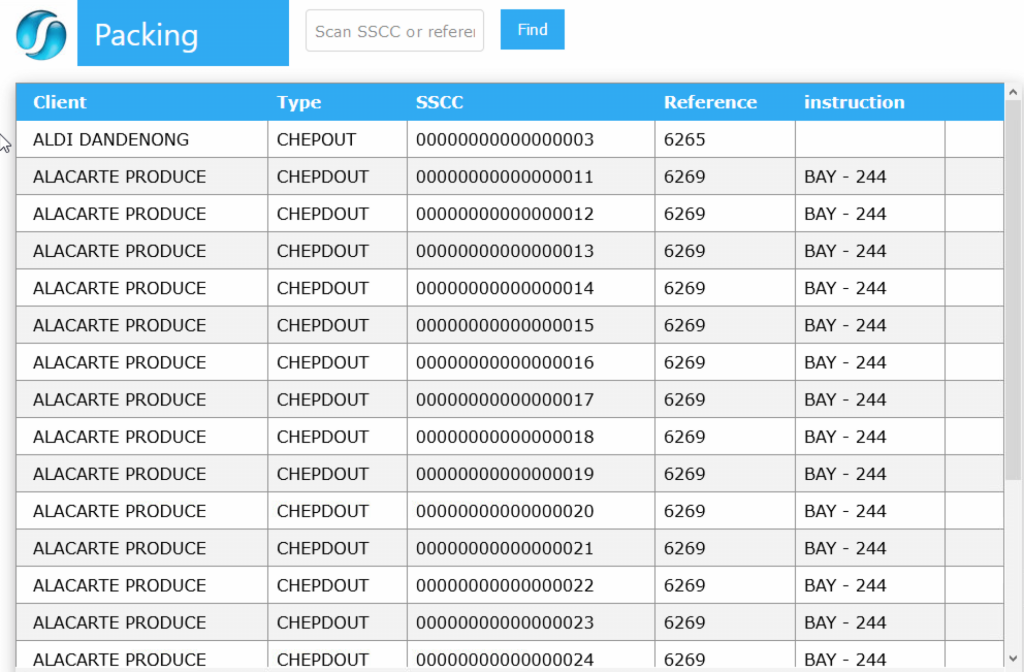
- Packing – Once selected the driver will see a list of pallets waiting to be delivered. This list shows the Client, Pallet Type, Pallet Number, Invoice Ref Number and any delivery instructions.
- Start – The user can then scan the barcode on the pallet or click on the last column to select the pallet/s that have been picked up to be delivered. This will put a mark along side the pallet and then bring up the Start button.
- Packing Detail – The driver will then have a Packing Detail screen appear. This screen shows the Pallet Number, Client Name, Delivery Location and the current number of Pallets that are owing from (+) or owed to (-) the client. When they drop off the pallet/s they then just click on the Finish button
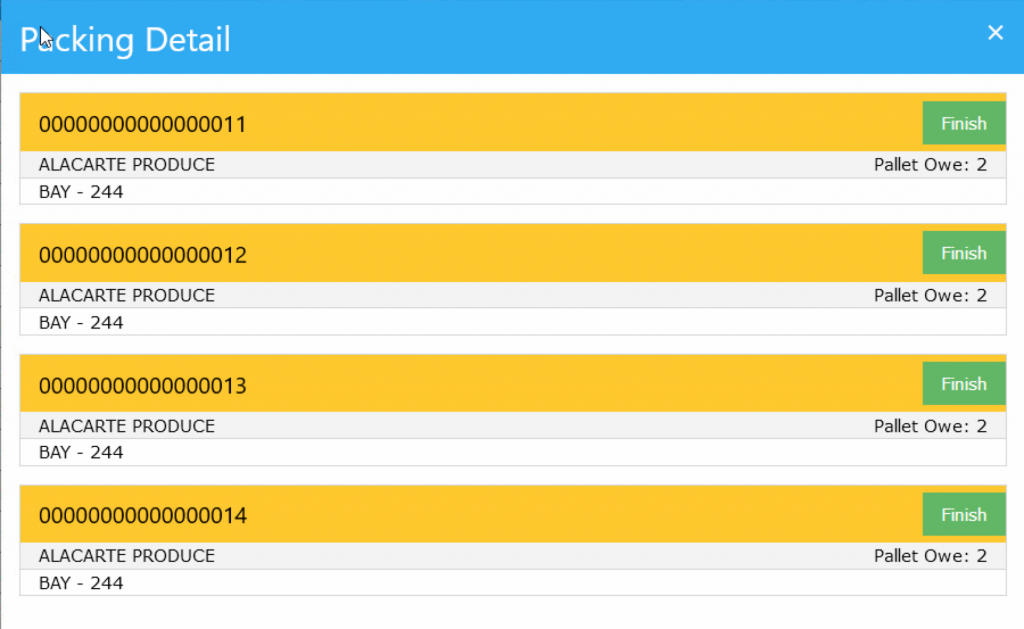
- Multiple Pallets – If you are delivering multiple pallets on one run of drop offs, the line will turn to green once you click on the Finish button

- Signature – Once the last pallet of an order has been delivered, a new screen will appear where a signature can be taken or a photo can be taken and attached from your device as confirmation of the delivery. There will also be a list of all the pallets for the Order. The delivery driver can check what is on each pallet by clicking on the arrow to the right of the pallet number.

- Finish – Once the signature or photo has been taken the driver just clicks on the finish button at the bottom of this screen.
- Pallet Return – This will then load a Pallet Return screen where drivers can enter the number of pallets they pick up from this client in exchange for what they may have just delivered or for what was owed. The location of where these pallets are going to be returned to can also be selected from the location drop down.
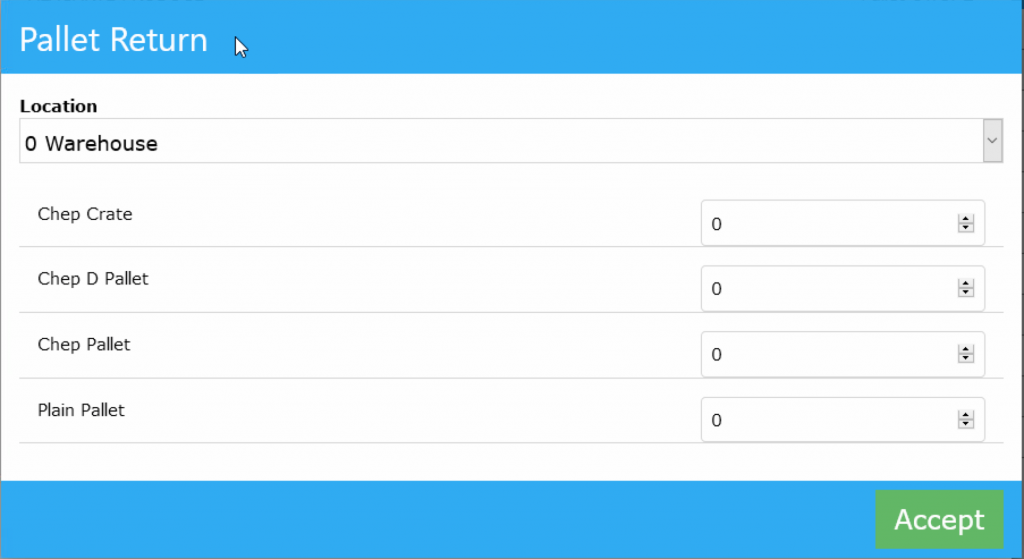
- Accept – Once updated (if need be) the driver clicks accept and the transaction will be finalised.
Dictation and Speech to Text Overview
SapphireOne’s implementation of both Dictation (MacOS) and Speech to Text (Windows) is a game changer for data entry. Any data entry field you can type into using a keyboard can use this feature.
You can also use this functionality on all inquiry screens within SapphireOne. For example, the user is in a Contact within a Client. They may have made a phone call to that particular client using the Softphone technology. Consequently, this will automatically date and time stamp both the contact and the phone number you called.
As soon as the call is completed, the user has the ability to use Speech to Text (Windows) or Dictation (MacOS). They can dictate into the memo field of the CRM contact, adding as much description as they require.
Dictation and Speech to Text Procedure
This functionality applies across every single Data Entry screen. For example, the SapphireOne user is entering a Vendor Invoice (VI). Additionally, you may want to add a memo within the Vendor Invoice (VI). The user can utilise the tool and simply dictate the memo.
Another example is if the user wants to add additional lines to the General Ledger account, within each General Ledger account. When the user is completing data entry using a General Ledger, there’s always a unique memo field for each GL account line.
The user can then utilise this feature to quickly add the information they need to add. Alternatively, you may have an interview with an employee. After the interview process is completed, the user can then make notes about the employee.
Speech to Text or Dictation is an extremely powerful tool. It is something that we at SapphireOne, as well as our clients, utilise daily. It is a massive time saver.
You can review our Blog and YouTube channel for additional information and resources on SapphireOne ERP, CRM and Business Accounting software.