Sapphire Web Pack Market Cashier is a centrally designed Cashier screen specifically for the market. The Client typically runs their business from within the market stand and they will have a number of Salespeople on the floor processing various sales, or adding additional lines to the one original sale the customer made, or they may leave your stand and come back at a later stage during the day, which you can either add to that original invoice or create additional invoices. Alternatively, there may be other reps that come to your stand from the same client and make additional purchases. Once all the sales have been picked and packed the Cashier will require payment, and the client will be able to proceed to the Cashier’s computer, iPhone, iPad or device that they using to be able to reconcile their invoice. The Cashier will have the Client pay either one invoice, or the invoices for that day, and the cashier will then record the various payment types. For example, it may be a mixture of cash and Apple Pay and that will then generate a Client Receipt within the SapphireOne Client.
Once a sale has been entered into Sapphire Web Market Pack Sales, the user can go to the Sapphire Web Pack Marker Cashier to receipt it. The user is able to select or type in the Client ID and view their Sales record. The user has the ability to select the sales for the day that they need to pay for and then the user can click on a particular line item so it shows the plus sign next to the items being paid for. Then from the drop down menu in the bottom left hand corner, the user has the ability to select the preferred payment method of the customer i.e. cash, eftpos, cheque, etc.
The Sapphire Web Pack Market Cashier user is also able to select more than one invoice. For example, as a fruit and vegetable seller, there are clients who require specific produce. You may have a client who may only want to buy fruit e.g. melons and another client who only wants to buy only vegetables e.g. potatoes. The client may come with two separate dockets/invoices, which the user is able to create in one ticket. This is helpful for when it the order is ready to be receipted, as the Client can identify that Salesperson A has booked three pallets of melons for $300 and Salesperson B has ordered five pallets of potatoes for $300. This will be detailed separately in the invoice with the Client still being able to pay for the order in one invoice. This functionality allows the user to use Cashier so the Client’s representative can pay for it in one go.

Cashier Navigation Overview
Creating Receipts in Sapphire Web Pack Market Cashier
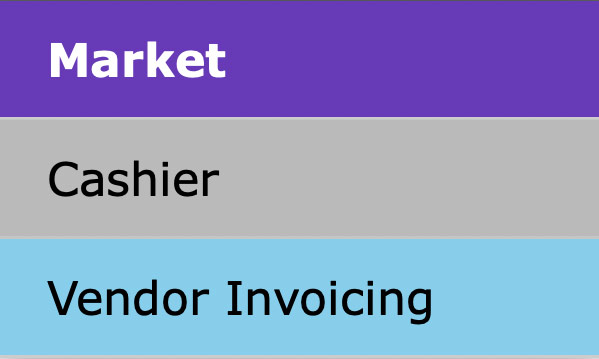
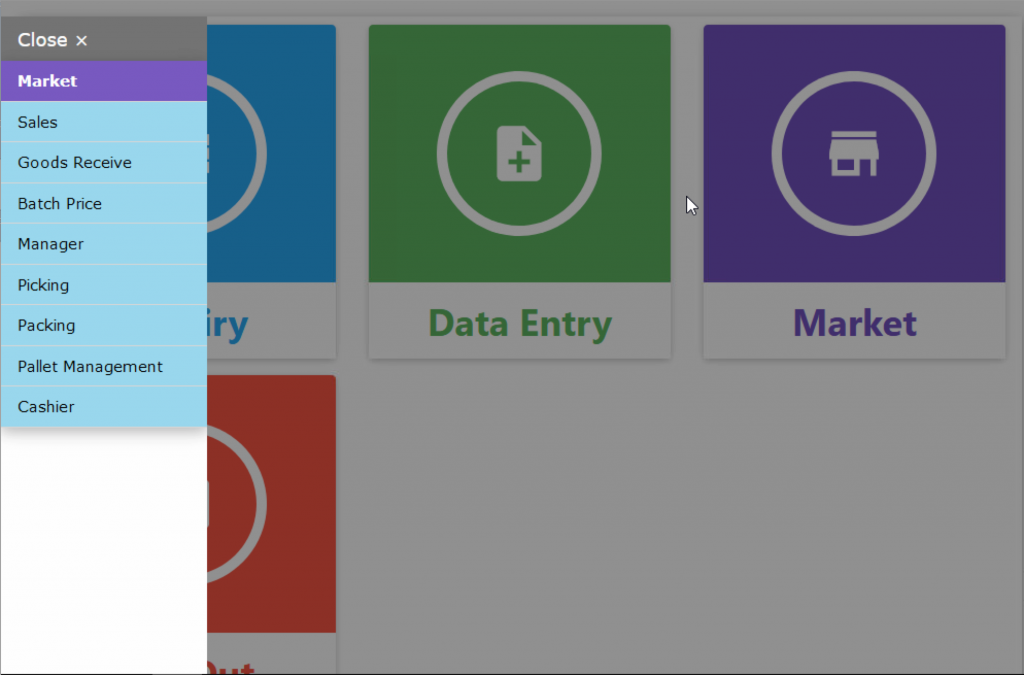
To create receipts to allocate against invoices, the user will need to go to the Web Pack and select Cashier from the menu that appears after clicking on the Market button.
- Cashier – This will open the Cashier screen, which will default to showing all Clients whose name begins with the letter A.
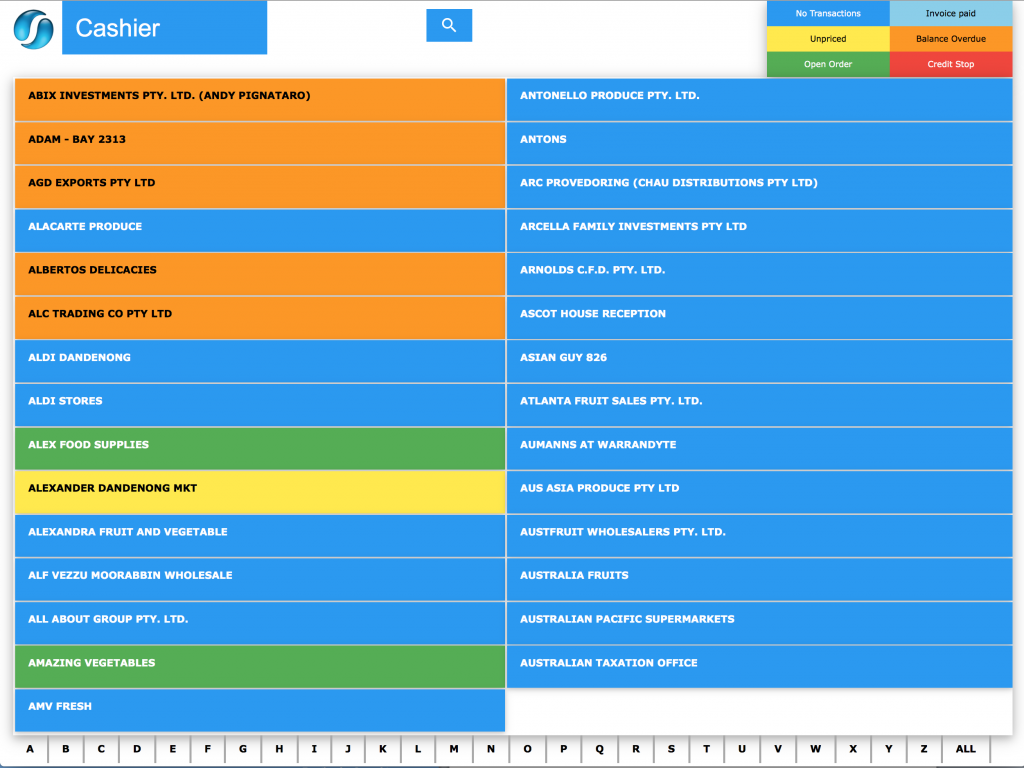
- Client List – Users can then click on the letters at the bottom of the screen to update the list of clients showing. Users can also click on “ALL” to show all clients and then scroll from left to right to go through the list.
- Search Client – If a user wants to search for a specific client they can also click on the
 Search button, which will allow them to search for clients by typing in the Client ID, Name or Credit Services number.

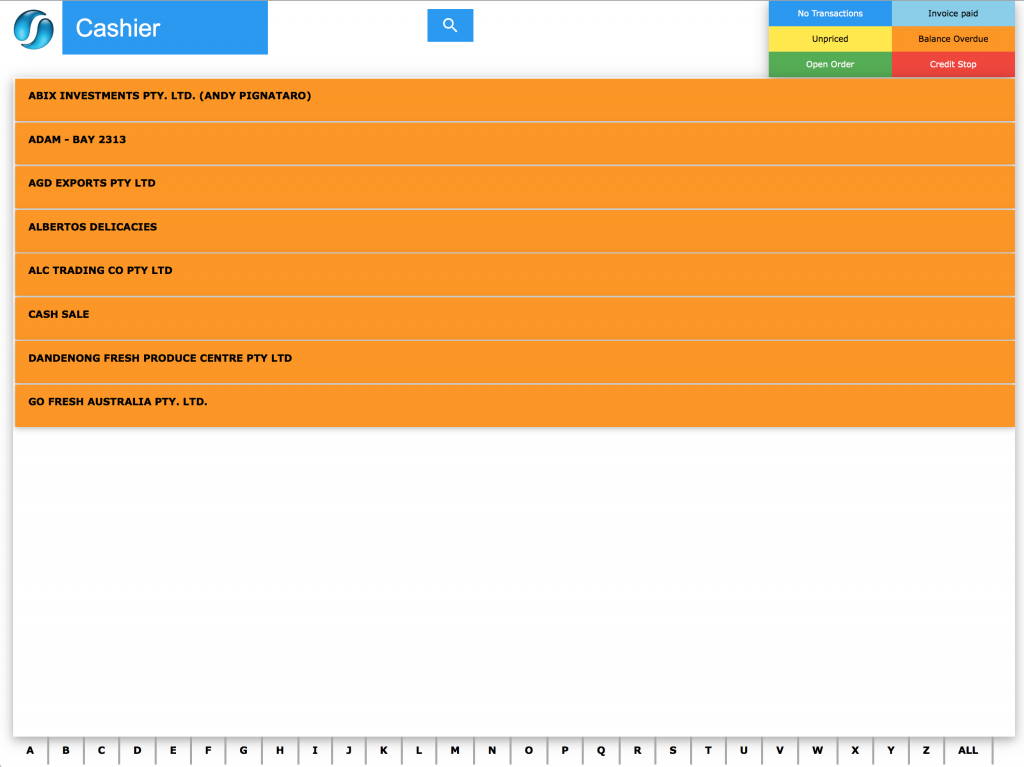
- Client Colour Code – Users can also reduce the list to search by the colour coding at the top right of the screen. For example if a user wanted to search for all clients that have overdue totals they could click on “All” then the Orange Balance Overdue button.
- Cashier Data Entry – Once a client has been selected the user will be taken to the Cashier data entry screen. This screen will show the Clients Name (backing of name panel will follow colour coding from previous screen), a list of the outstanding invoices, terms, credits waiting to be allocated and Total Due.
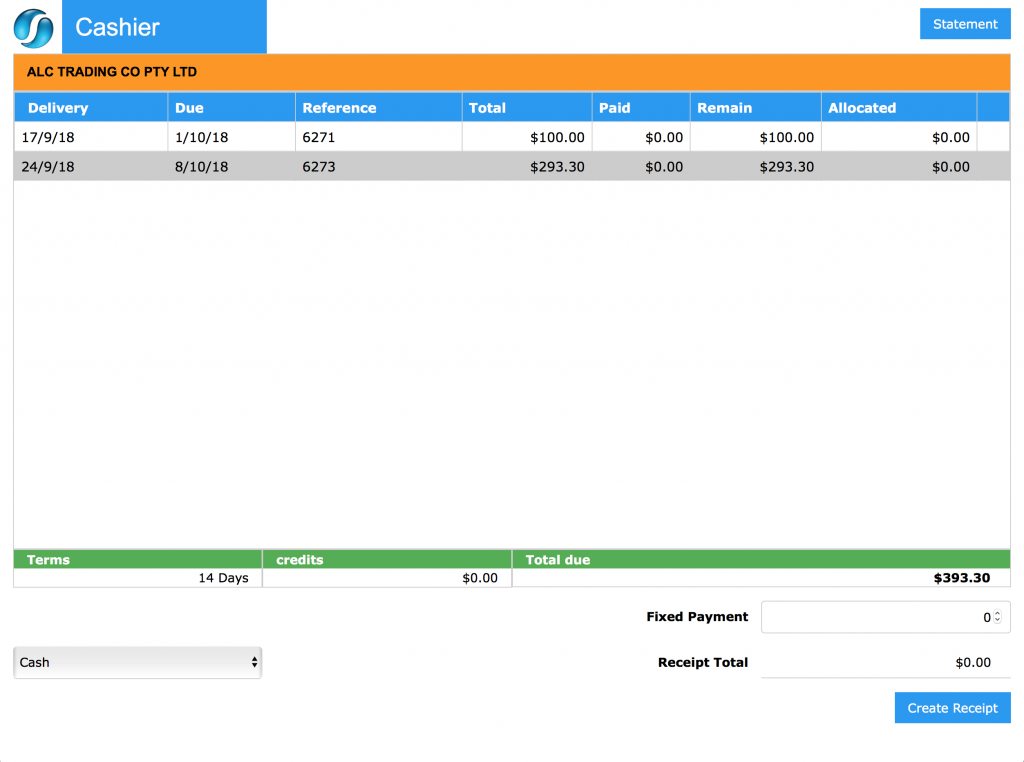
- Updating Receipt – To create a receipt the user has a couple of options in regarding to updating the receipt total.
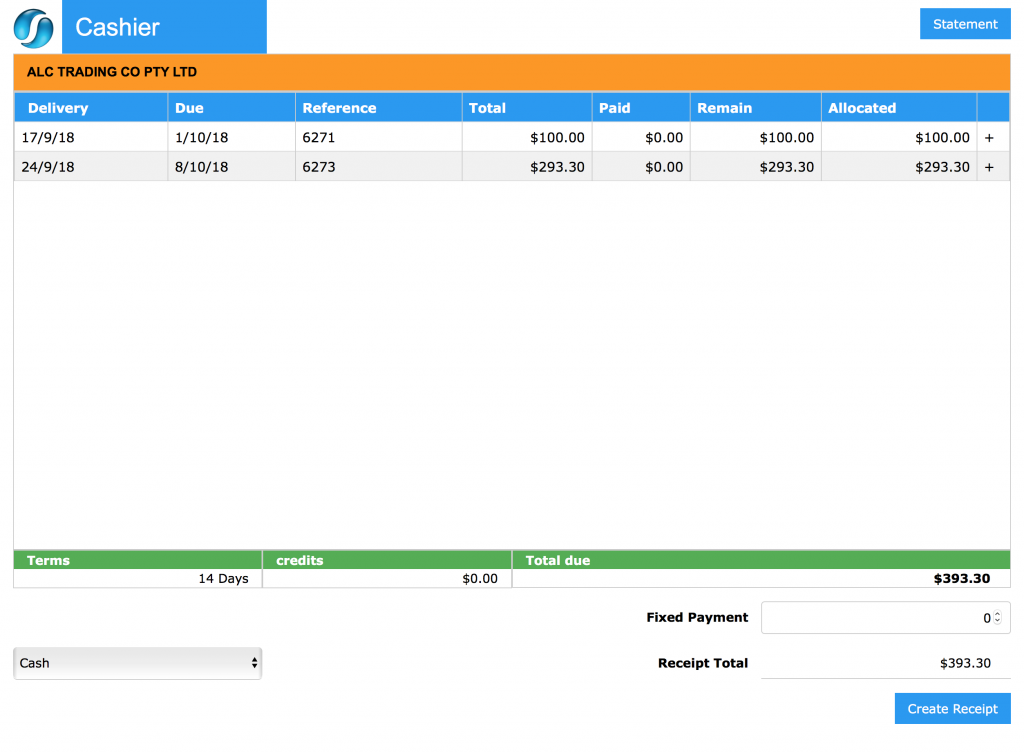
- Option 1:
- User can click on last column of list to select the invoice/s to be allocated against. This will update the Receipt Total to the exact amount of the selected invoices.
Dictation and Speech to Text Overview
SapphireOne’s implementation of both Dictation (MacOS) and Speech to Text (Windows) is a game changer for data entry. Any data entry field you can type into using a keyboard can use this feature.
You can also use this functionality on all inquiry screens within SapphireOne. For example, the user is in a Contact within a Client. They may have made a phone call to that particular client using the Softphone technology. Consequently, this will automatically date and time stamp both the contact and the phone number you called.
As soon as the call is completed, the user has the ability to use Speech to Text (Windows) or Dictation (MacOS). They can dictate into the memo field of the CRM contact, adding as much description as they require.
Dictation and Speech to Text Procedure
This functionality applies across every single Data Entry screen. For example, the SapphireOne user is entering a Vendor Invoice (VI). Additionally, you may want to add a memo within the Vendor Invoice (VI). The user can utilise the tool and simply dictate the memo.
Another example is if the user wants to add additional lines to the General Ledger account, within each General Ledger account. When the user is completing data entry using a General Ledger, there’s always a unique memo field for each GL account line.
The user can then utilise this feature to quickly add the information they need to add. Alternatively, you may have an interview with an employee. After the interview process is completed, the user can then make notes about the employee.
Speech to Text or Dictation is an extremely powerful tool. It is something that we at SapphireOne, as well as our clients, utilise daily. It is a massive time saver.
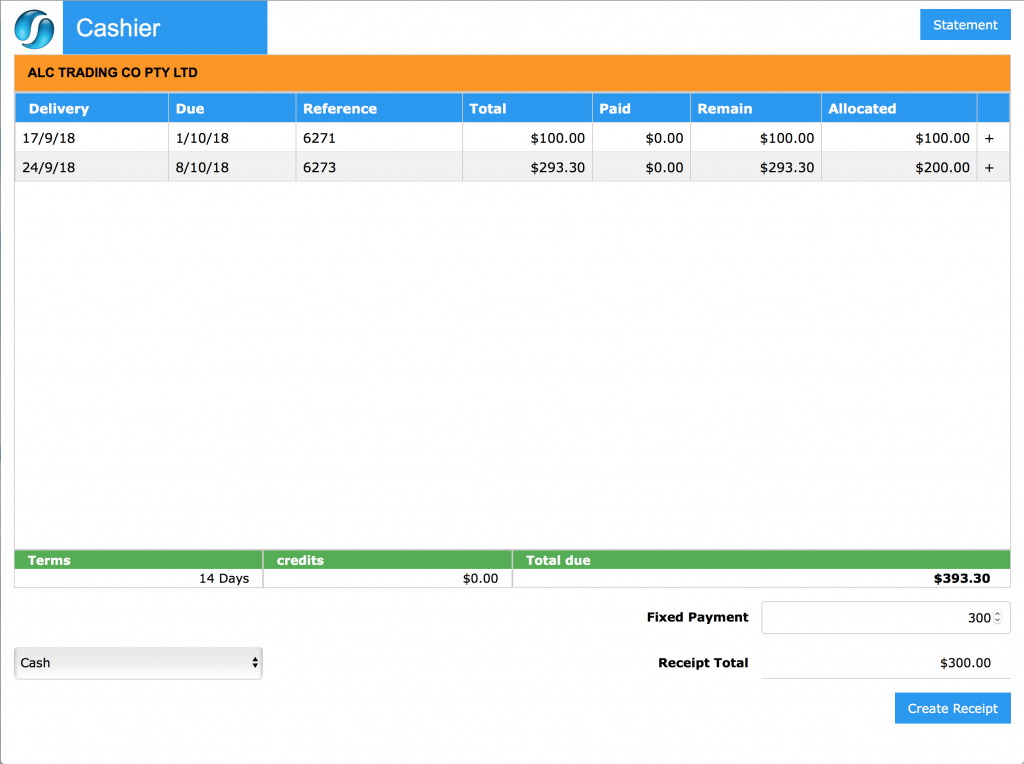
- Option 2:
- User can type in a fixed payment amount and then allocate that amount against the invoices by clicking on the last column of the invoices. This will allocate as much of the fixed payment possible in the order that the invoices are selected.
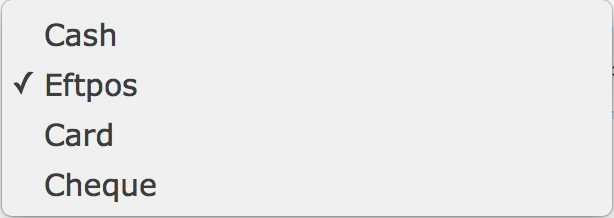
- Payment Type – The final thing the user needs to select is the type of payment being made. Users can select the following types of payment types from the drop down at the bottom left of the Cashier Screen.
- Create Receipt – Once the Receipt Total and Payment Type have been updated the user can then click on the
 button at the bottom right of the Cashier Screen. This will pop the following screen:

- When the user clicks “YES” a Receipt will be created and allocated against the selected invoices.
Cashier Reconciliation – Full Client
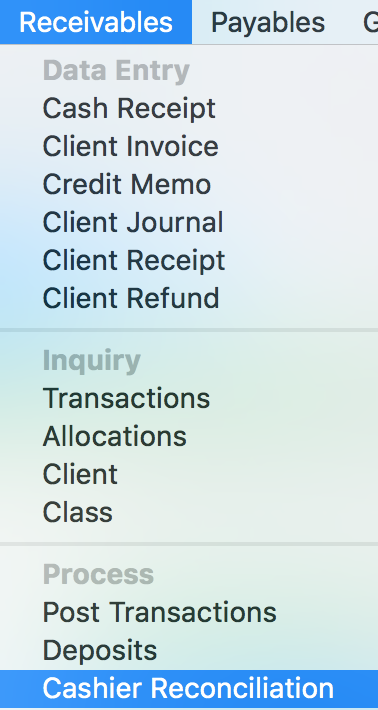
- Cashier Reconciliation – At the end of the day the user can reconcile the till by opening the SapphireOne full client and going to Accounts Mode – Receivables Menu – Cashier Reconciliation.
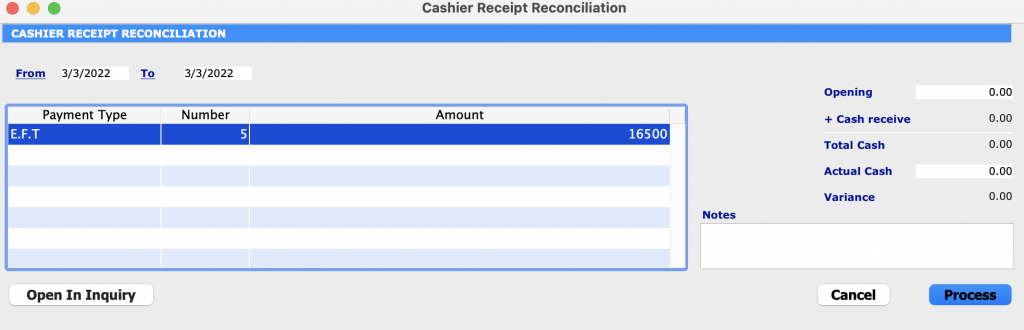
- Cashier Receipt Reconciliation – This will pop the Cashier Receipt Reconciliation screen defaulting for the days receipts created by the specific user. This screen will show the Payment Type, number of transactions with that payment type and the total amount of the transactions.
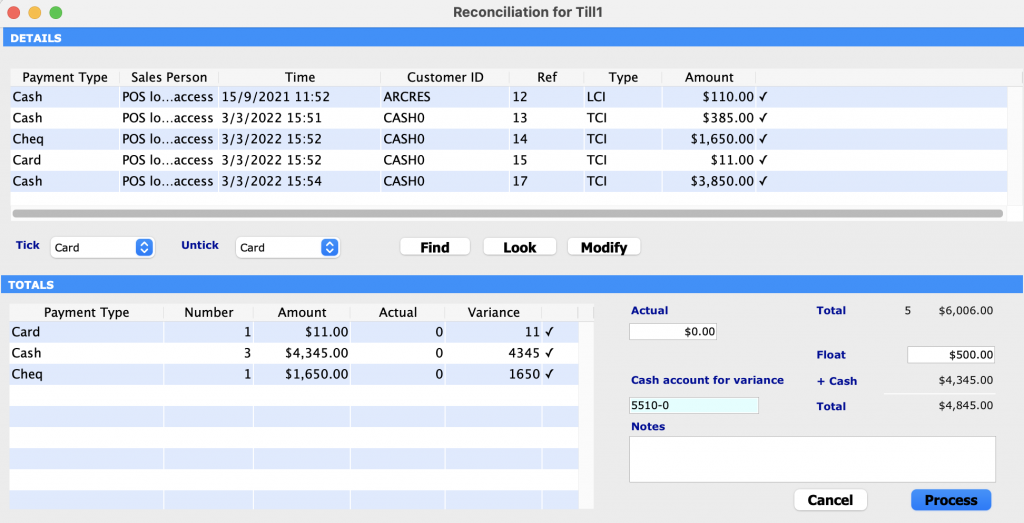
- Opening Till – Cash can be reconciled by entering the Opening Till float and reconciling against the actual cash in the till at the end of the day.
- Process – Once everything has been checked the user can click on the Process button which will pop the following screen:

- Posting Receipts – Pressing Yes will process the Reconciliation and post the reconciled receipts so they cannot be changed.
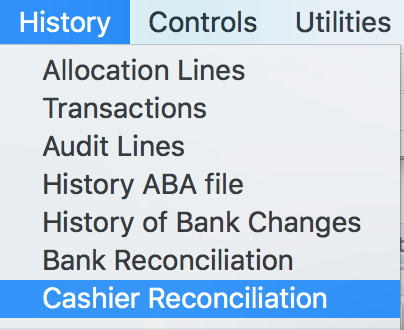
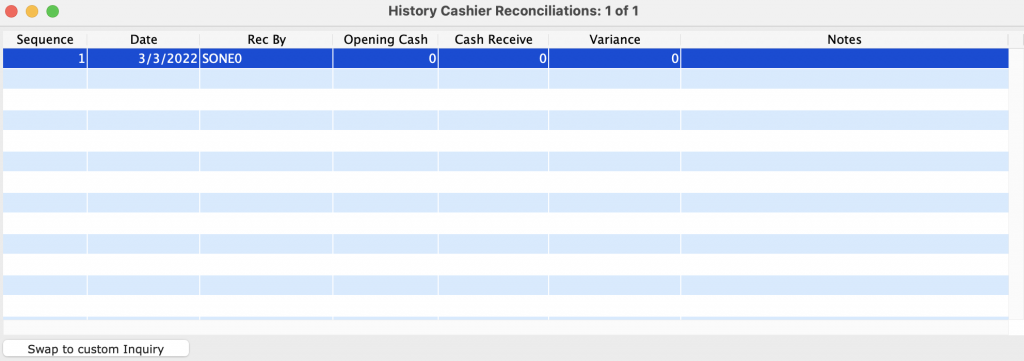
- History – History of each reconciliation can be found by going to Utilities Mode – History Menu – Cashier Reconciliation.
- Cashier Reconciliations List – Once selected the user will see a list of all the Cashier Reconciliations.
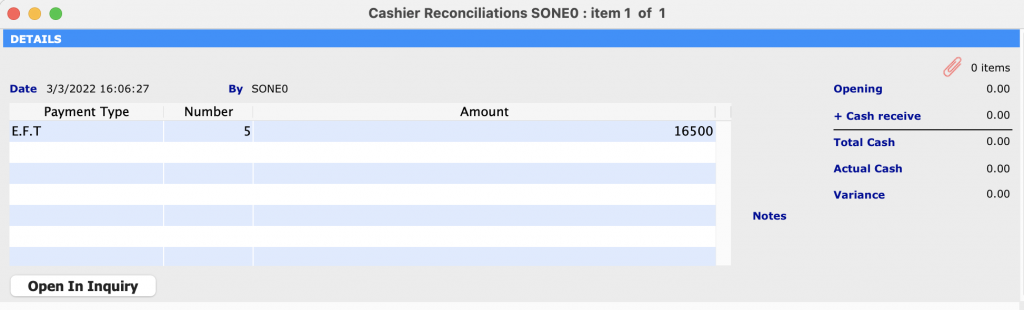
- Records/Document Attachment – Users can drill into each record to check the actual details of the Reconciliation. Supporting documents can be attached/checked by clicking on the paperclip at the top right of the screen.
You can review our Blog and YouTube channel for additional information and resources on SapphireOne ERP, CRM and Business Accounting software.