Create a Point of Sale Transaction Overview
The SapphireOne Point of Sale Transaction allows the SapphireOne user create a transaction directly from the Point of Sale mode.
Create a Point of Sale Transaction Scenarios
Scenario: A customer comes into your shop and purchases an item using cash as payment
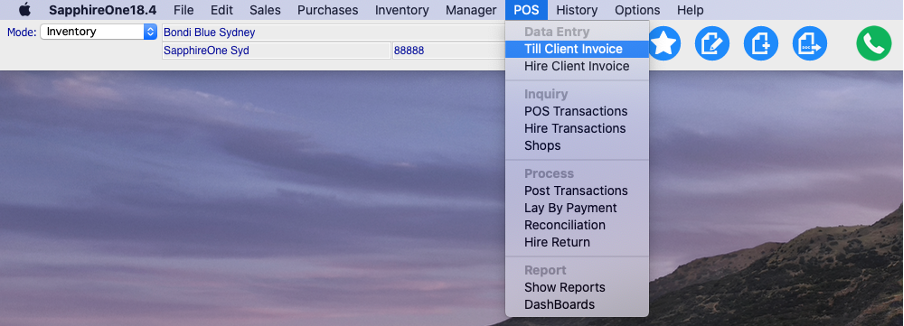
Step 1. Open SapphireOne and enter Inventory Mode. Click the POS Dropdown and click the Till Client Invoice. In SapphireOne, user can be setup in the Workbook so that they can only access to specific function, for example a user who only does POS may have their access restricted to only the POS.
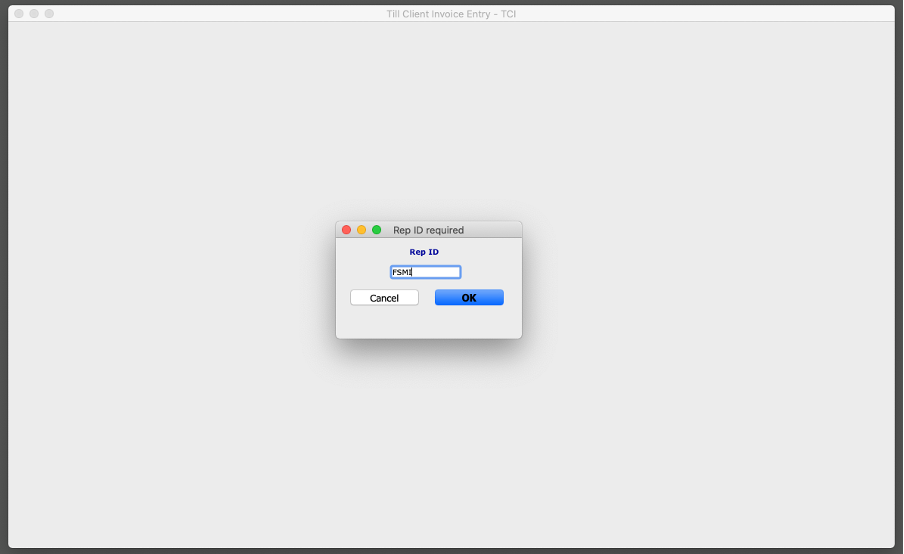
Step 2. Enter an active and valid Rep ID. The Rep ID will be recorded for the subsequent sales. This login interface can be turned off in Master Defaults so that the user does not have to continually login.
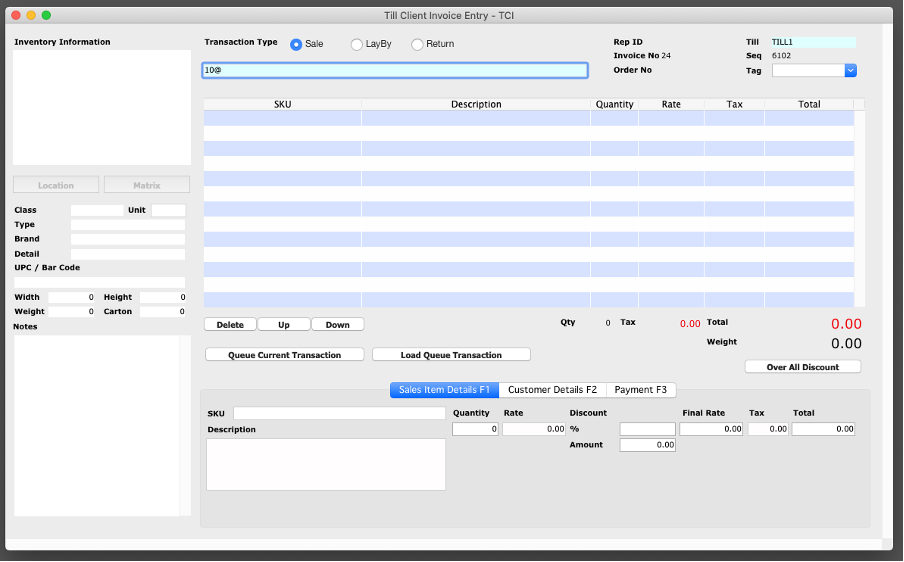
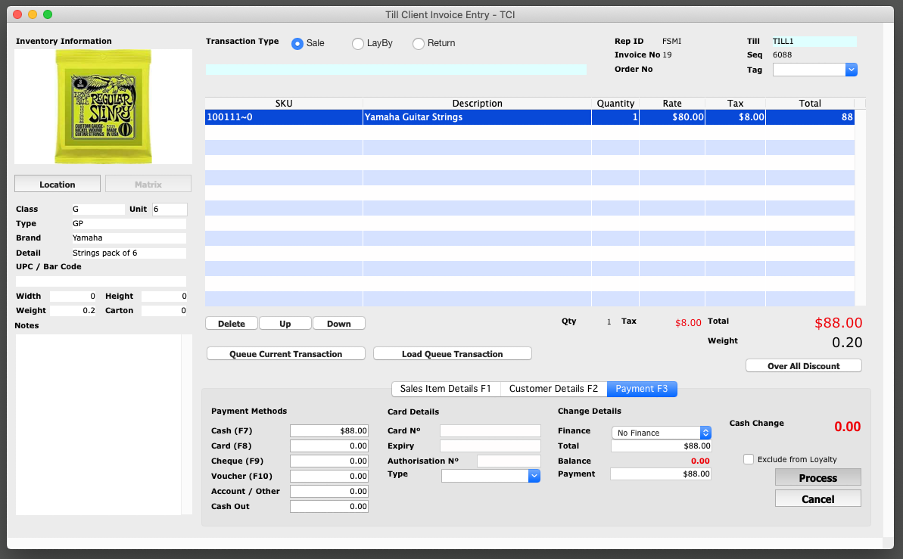
Step 3. Once you enter a correct Rep ID, you will enter the Till Client Invoice screen and enter the inventory ID you wish to sell. Use the “@” or “?” Wildcard function to bring up a list of relevant inventory or the inventory can be automatically entered if the user has setup an API with an electronic barcode scanner.
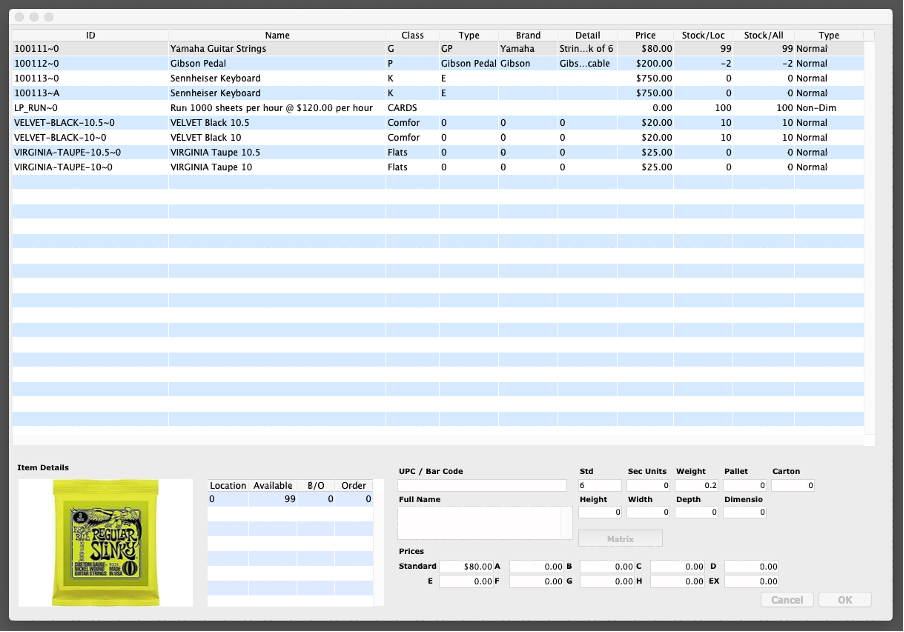
Step 4. If entering inventory manually, such as in this scenario, select the relevant inventory.
Step 5. When processing the payment you will click on the “Payment F3” tab, or click F3. Followingly, you will need to select the method of payment by the customer. Although in this screenshot the customer is paying in cash, SapphireOne is integrated with Stripe and Tyro and can be integrated via custom programming with any EFPTOS API so that bank or credit card details are automatically read, recorded and processed from the EFTPOS machine. When the outstanding Balance is $0.00 the process button becomes active.
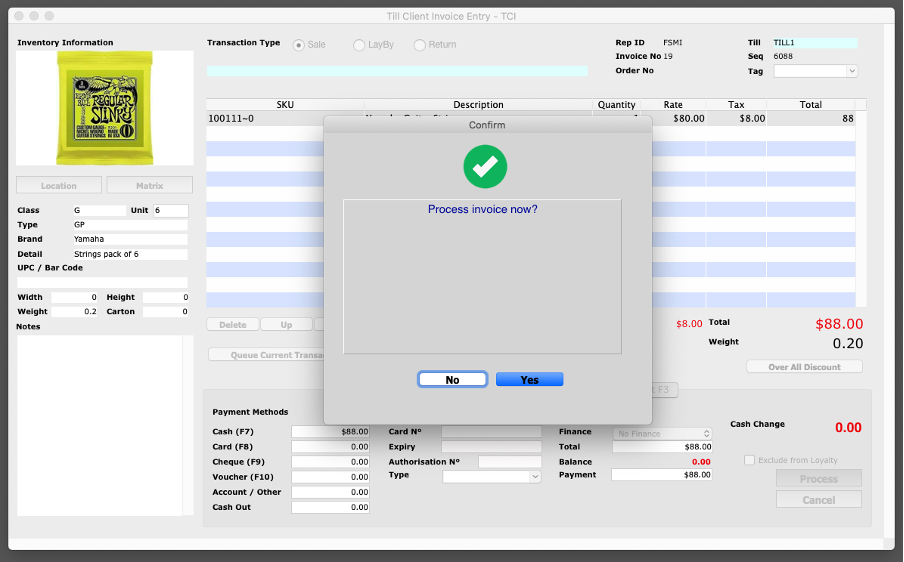
Step 6. When you click the “Process” button, an additional window will pop up asking if you would like to process the invoice now.
SapphireOne WebPack: How to Process a POS Transaction
Alternatively, users can perform the same process using the SapphireOne Webpack by performing the following steps.
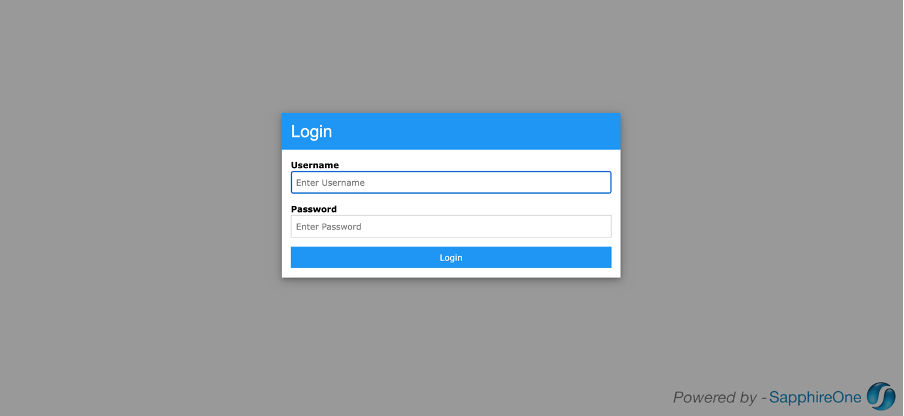
Step 1. Login to the SapphireOne Webpack
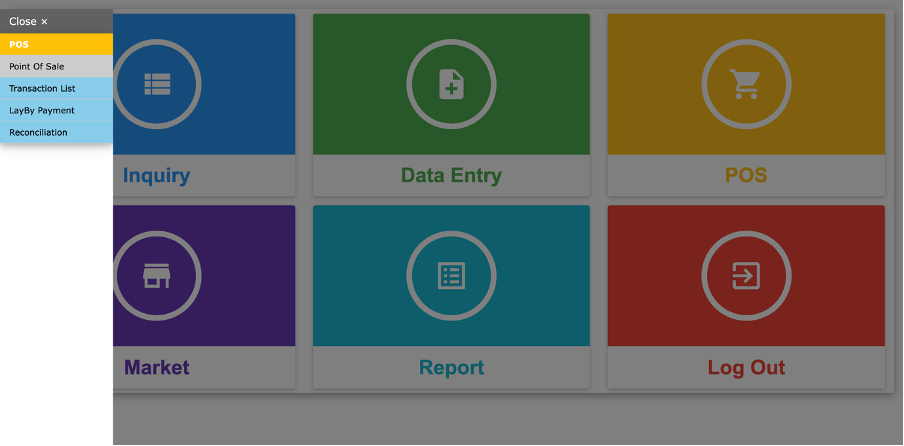
Step 2. Click the POS icon.
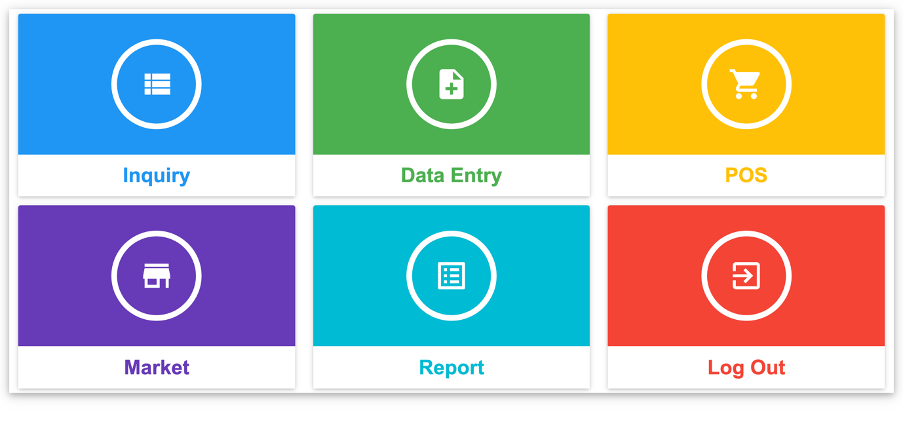
Step 3. Select the Point of Sale function
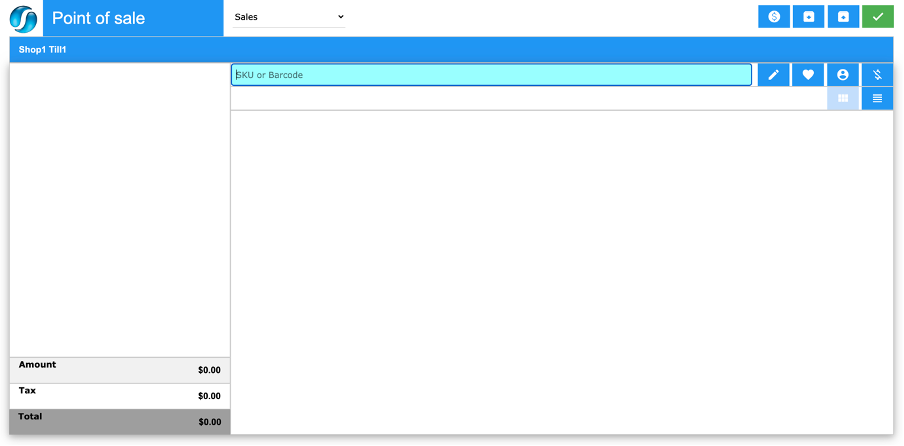
Step 4. You will then generate the Point of Sale function screen and enter the inventory ID you wish to sell. Use the “@” or “?” Wildcard function to bring up a list of relevant inventory or the inventory can be automatically entered if the user has setup an API with an electronic barcode scanner.
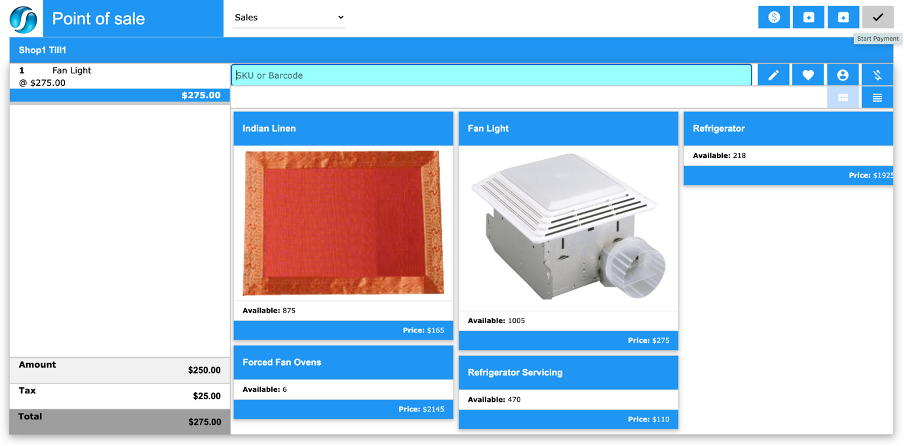
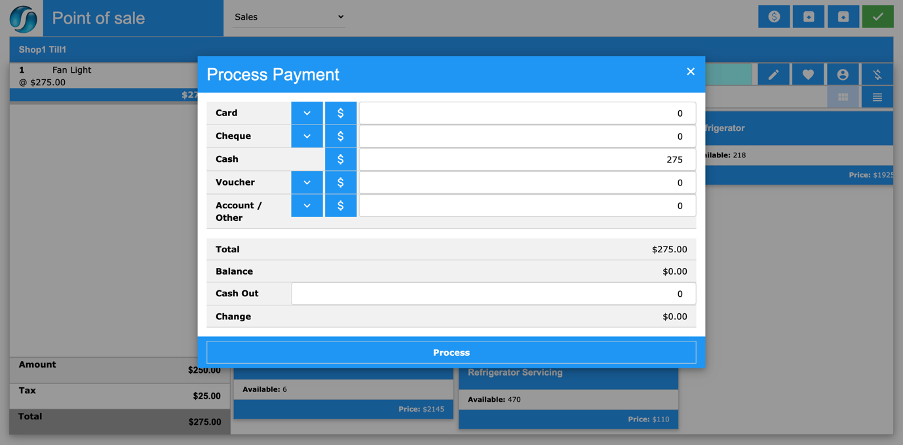
Step 5. This will enter the Inventory into the Point of Sale transaction. Once you have finished adding inventory to the transaction click on the Start Payment button as seen in the top right hand side of the screen.
Step 6. This will bring up the Process Payment interface as seen above.
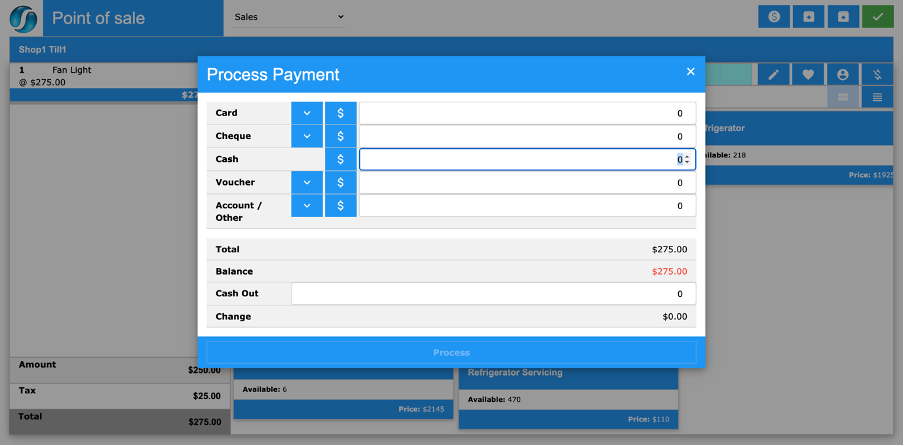
Step 7. Although in this screenshot the customer is paying in cash, SapphireOne is integrated with Stripe and Tyro and can be integrated via custom programming with any EFPTOS API so that card details are automatically read and recorded from EFTPOS machines. When the outstanding Balance is $0.00 the process button becomes active.
Step 8. Clicking the process button will result in the invoice being automatically generated. The transaction will also be recorded as Till Client Invoice (TCI).

You can review our Blog and YouTube channel for additional information and resources on SapphireOne ERP, CRM and Business Accounting software.