The History Order platform is a powerful tool that enables your organisation to gain valuable insights into previous orders. With this platform, you can easily generate reports in different formats. These reports provide a comprehensive overview of your order history, allowing you to make data-driven decisions for your organisation.
One of the key features of the History Order platform is its ability to categorise orders by history level. This means that you can view orders based on their level of activity, such as recent orders, orders from the past month, or orders from the past year. This allows you to track the frequency and volume of orders over specific time periods, giving you a better understanding of your organisation’s order patterns.
Furthermore, the platform also allows you to filter orders by product type. This is especially useful for organisations that offer a wide range of products. You can easily view orders for specific products or product categories, helping you identify which products are in high demand and which ones may need more attention.
The History Order platform is also user-friendly and can be easily integrated with SapphireOne. This means you can seamlessly access and analyse your order history data without disrupting your daily operations.
To utilise the Sapphire Custom Web Pack History Order, follow these steps:
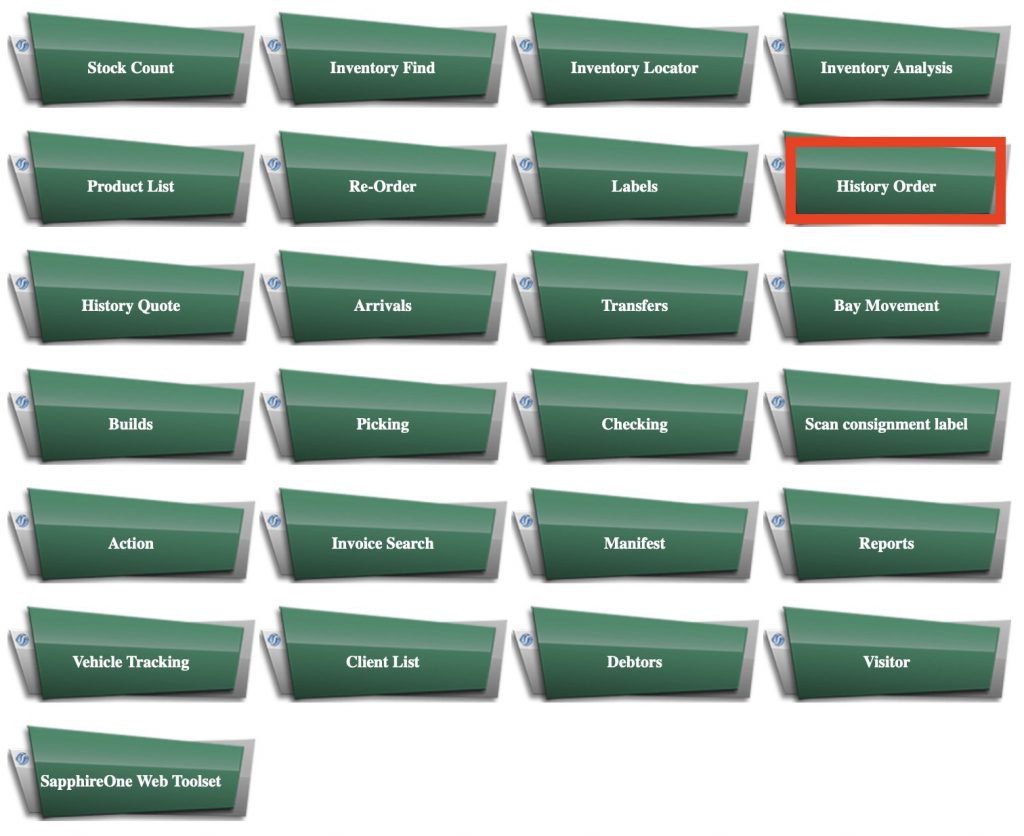
- Navigate into “History Order”.
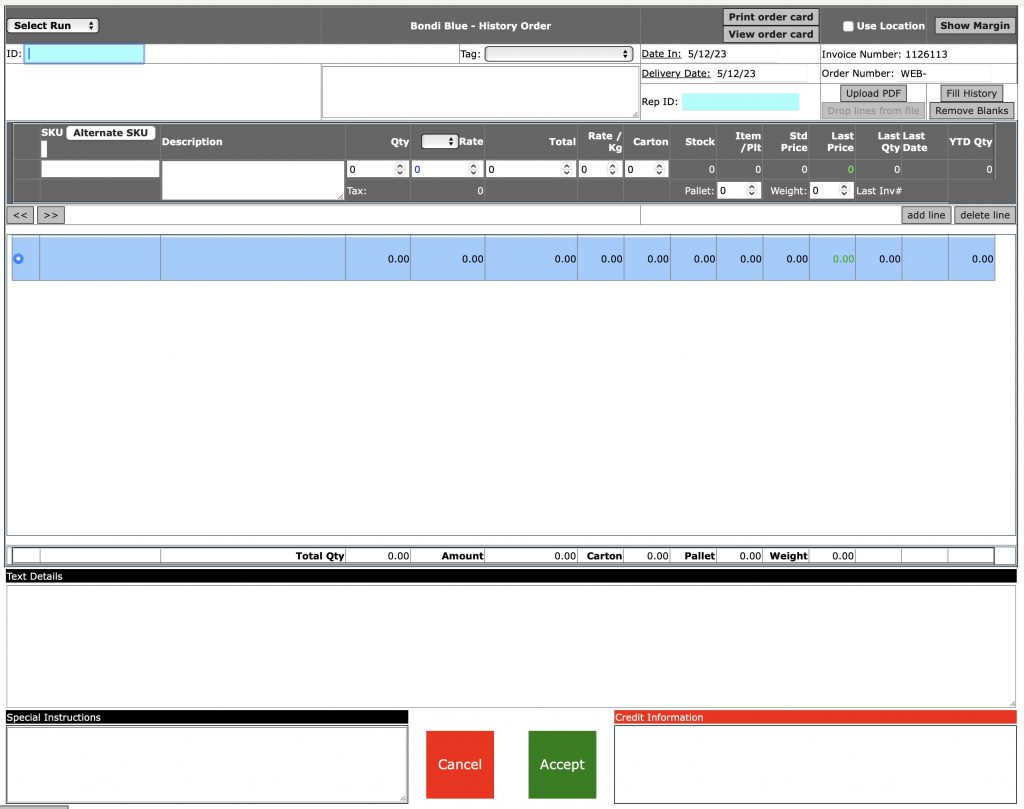
- Once entered, the following page will appear:
- Select Run – Specify run.
- Print Order Card – Print specific order.
- View Order Card – View specific order.
- Use Location – Use location specified in order.
- Show Margin – Click to enable Margin View.
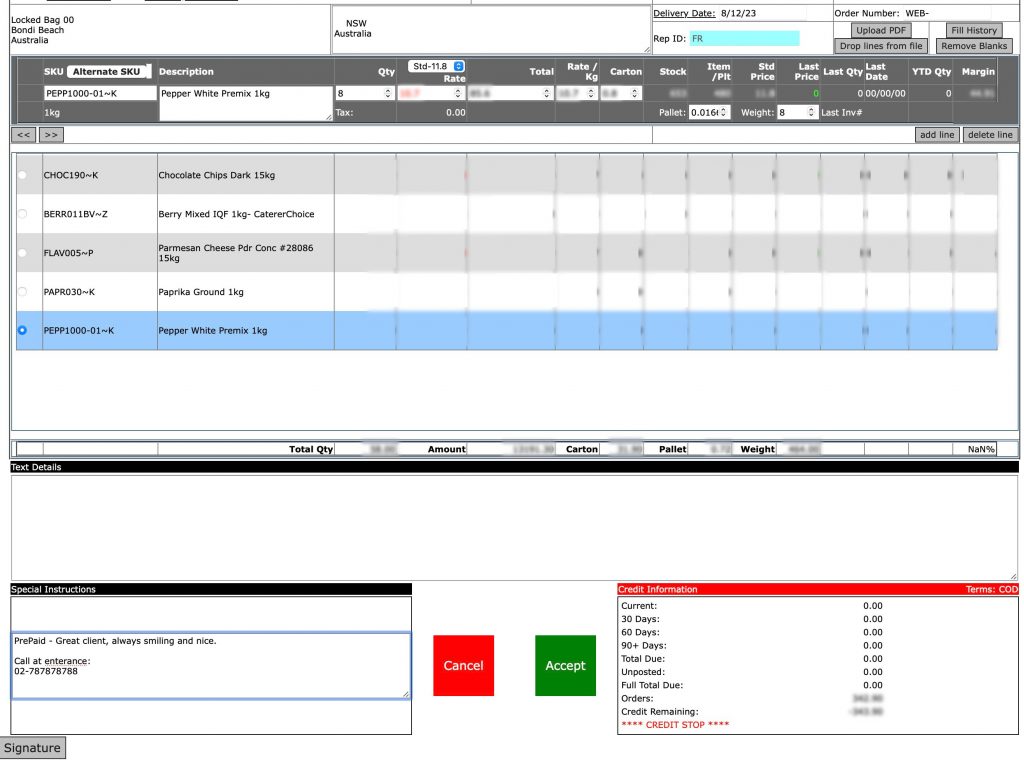
ID – Client Identification number. - Tag – Status tag.
- Date In – Date of order.
- Delivery Date – Date to be delivered.
- Rep ID – Assigned designated Sales Representative to the Client.
- Invoice Number – Invoice identification / sequence number.
- Order Number – Order identification.
- SKU – Stock Keeping Unit.
- Description – Valuable information about the inventory product.
- Qty – Quantity.
- Rate/KG – Rates per kilograms.
- Carton – Amount of Carton units.
- Stock – Stock number.
- Item/Pit – Inventory item per pit.
- Std Price – Standard price.
- Last Price – Final price.
- Last Qty – Final Quantity
- Last Date – Final date.
- YTD Qty – Year to date needed.
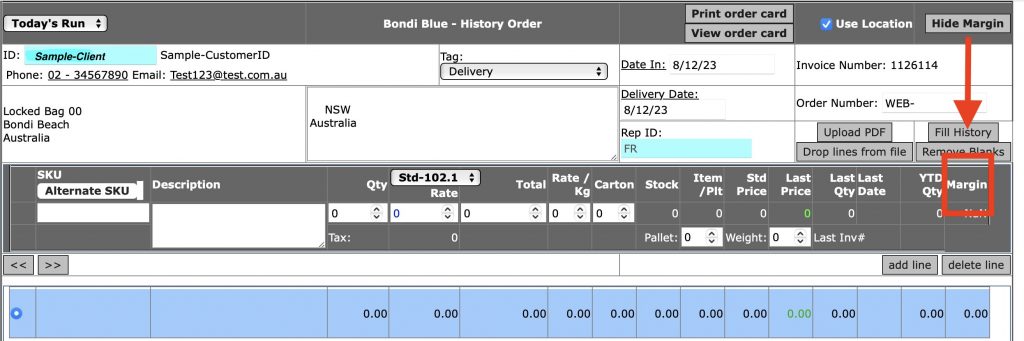
- Select the Client ID.
- Once Selected – client details (Address, Phone number, ETC) will appear on the screen as shown in the following example.
- Note: You may add Margins into the table by selecting “Show Margin”
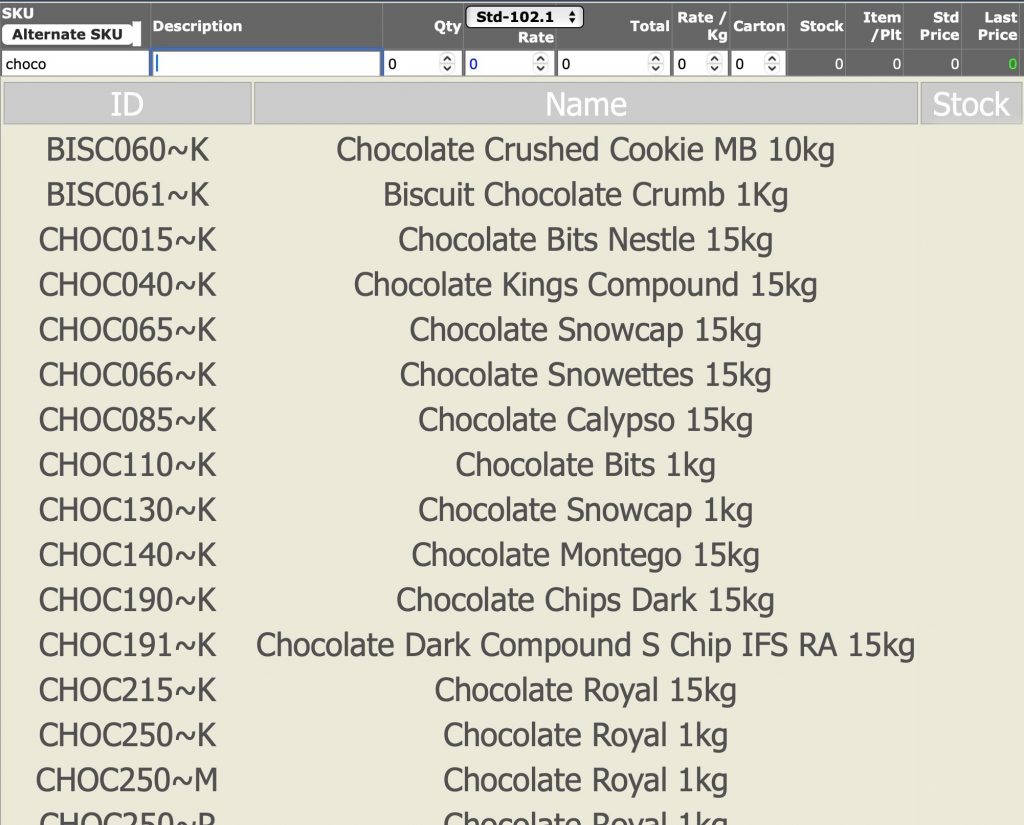
- After Selecting the Client and verifying information – you may add inventory items from the search bar, in case it contains partial ID – a list will appear with Product name and live Stock information.
- After selecting all the required inventory items – you may select their quantities for the following order.
- Finally – you may sign the application and it will be ready to be exported as PDF.
You can review our Blog and YouTube channel for additional information and resources on SapphireOne ERP, CRM and Business Accounting software.